Pages

Sunday, 12 January 2014

Testrunning the Mighty Swede

This weekend I have reground and sharpened the EKA swede 10 I received for christmas. Regrinding was not really necessary, but I am a bit particular about my edges. I suppose other knife enthousiasts can relate to that. I set the secondary edge at 25 degrees. The steel takes a very decent edge, and after testing it today I found it also retains this edge quite well. It is 12C127 stainless steel, which I believe is the alloy that is also used for some of the stainless Mora blades. With a 130 grams and a spine thickness of 2.8 mm this is quite a large and heavy duty lockback folder.

When we went on a walk through a local park I figured I`d take it along to get some pictures and do some tests. Unfortunately it was excellent weather. The park was filled with people, meaning the conditions were not ideal to test a knife without getting weird looks. I did get some things done though.


Harvesting some branches from a dead tree went very smoothly in a few large and powerful cuts. Cleaning up the ends and carving some feathersticks to test the edge and the grind went rather well. Sharpness was not an issue at all, and after today I know that it also retains the edge very well. After cutting up quite some wood, and then being used to cut meat and veggies for dinner the Swede was still shaving sharp without having to strop it. This folder is very solid and is an excellent all purpose knife to have in the pack. Either as a back up knife, or as a primary knife on shorter trips. I do find it too much knife for it to be my every day carry option. In daily life I find that my Victorinox Huntsman or Opinel #8 are more than sufficient. The Mighty Swede will from here on live in my daypack, and come on trips where I by no means need a fixed blade but might run into stuff that is a bit too intimidating for my poor old swiss army knife.

Monday, 6 January 2014

Spreaders

Lately I have enjoyed carving spreaders. Compared to spoons they are rather simple, but there is still quite some difference between a good and a bad one. I`ve found that a good spreader must be comfortable in the hand, so the handle must be a bit thicker and more rounded than the blade. Another important feature is that the angle of the blade must be correct when holding the spreader, so that you do not have to twist your hand or arm in uncomfortable angles to make it work. Here are six spreaders. The left bottom cluster is sycamore, the others are made out of birch.
 I really like the difference in the grain between the two wood types. The rippling effect in the sycamore is lovely, but the richer and darker colour of the birch is also really nice.
I like carving spreaders. There is a lot more to them than I initially thought, and I will keep experimenting with curves and ergonomics. If you carve but have never tried to make a few of these I strongly encourage you to do so!

Wednesday, 1 January 2014

Happy Holidays

I am having them. My days in Norway have been slow and comfortable this far. There are a couple of things I want to show in this blog, beginning with some amazing christmaspresents I have received from the family of my significant other.
 The folding blade is the EKA swede 10. It is a very heavy duty lockback folder with a hollow ground and secondary edge. It promises to be a very nice alrounder to have kicking around the backpack, and on most daytrips a blade like this will be all one needs and more, so I am very excited about it. It is very well built. There is no "play" in the joint and it comes quite sharp. I will reprofile the secondary edge to 25 degrees to make touch-ups on my lansky system easier.

Another sharp shiny bit I received is this lovely handforged hunting knife. It has been made by a blacksmith in Norway, and was gifted to me by the parents of my girlfriend, together with the leather you see in the background. This leather comes from a deer that my girlfriends father shot last fall, and he tanned it himself. His plan was that I`d make a handle for the blade and then he could show me how he makes knife sheaths, using this leather. The blade is rather heavy. It is 4 mm thick, and tapers towards the tip. It has a small secondary bevel that I shall grind till it is even. It was intended as a hunting knife and the secondary bevel will be perfect for the tasks a knife does in hunting/butching. I think it must be obvious that I am chuffed!


---WARNING - BUTCHING PICTURES!---
What follows is a write up about me learning more about processing birds for eating, and involved pictures of the killing and butching of the pearlhens that were to be our new years eve dinner. While I think that everyone should know where meat comes from, and that 'homegrown' meat is as animal friendly as meat gets, some people might not like to see the pictures.


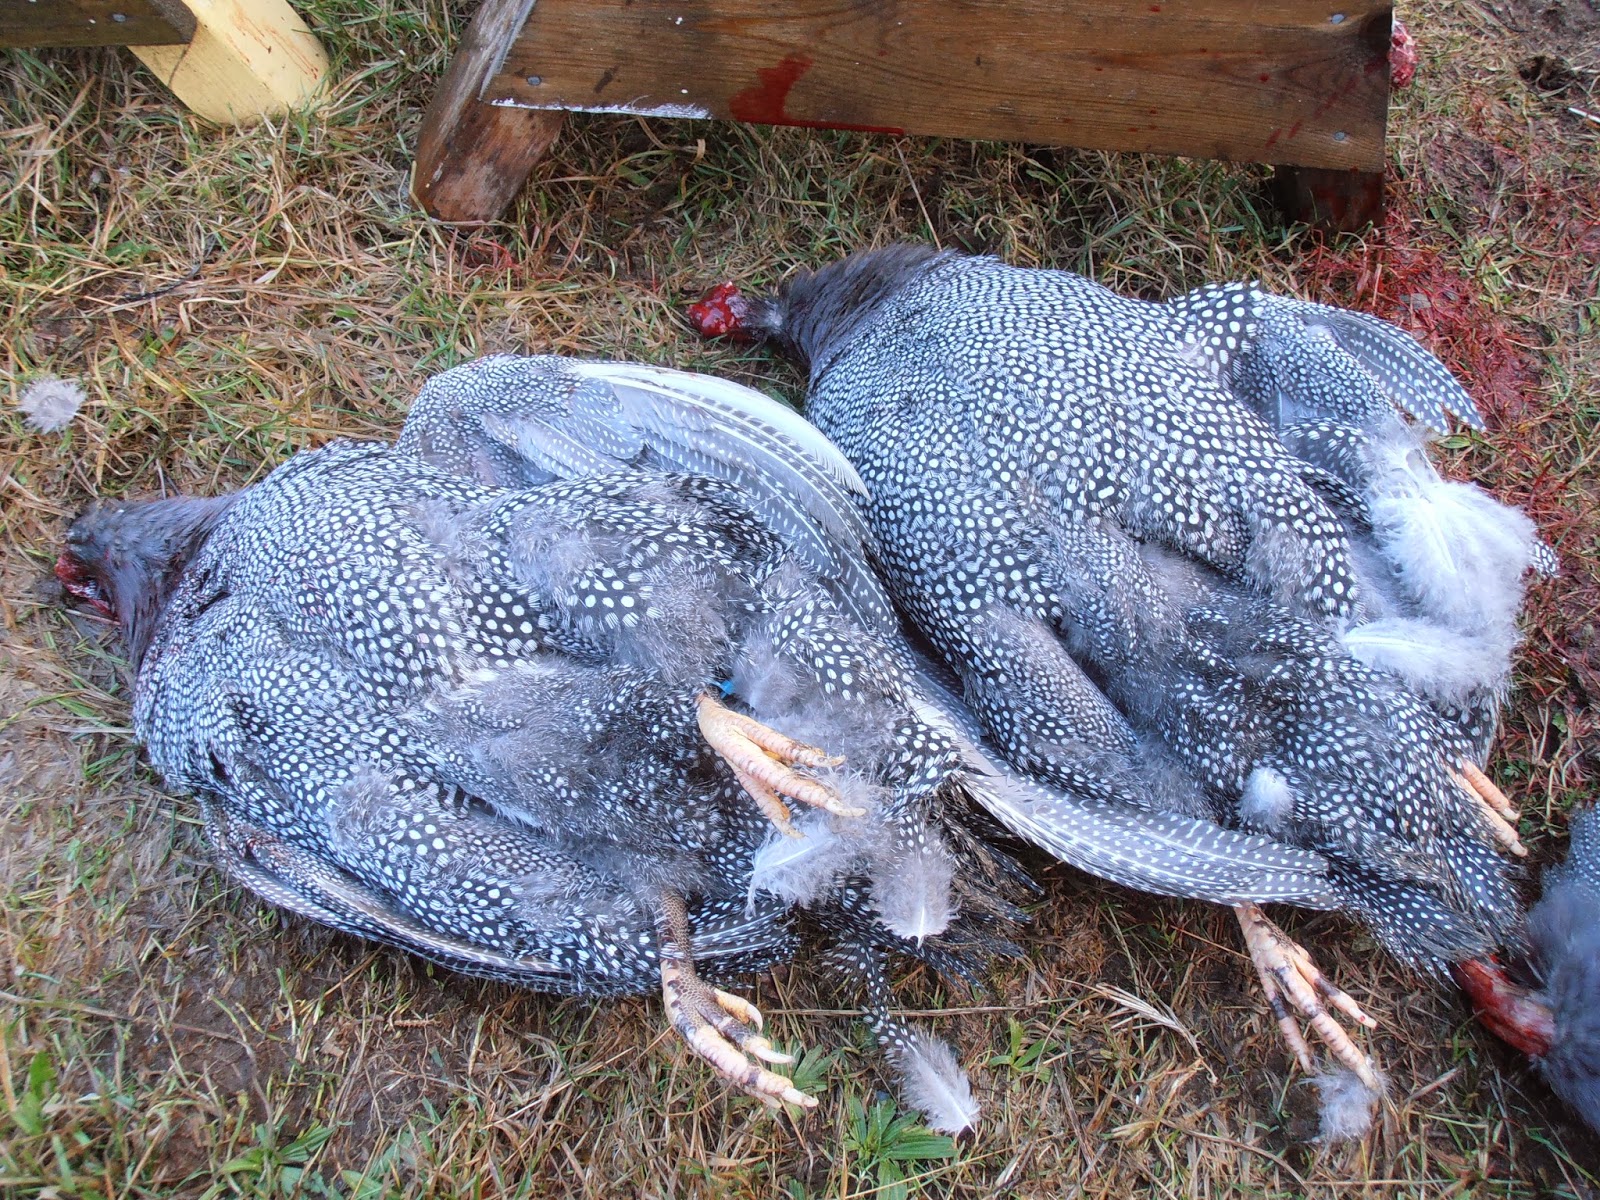
A couple of days ago I have learned a lot about processing poultry from start to finish. We were having pearlhens on New Years Eve, and my father in law (I`ll call him "father in law" for ease of typing) offered to teach me about it. It all begins by killing the bird quickly. In the next picture you can see how the feet and the wing tips are held in one hand while with the other hand one hit with a sharp axe is delivered. This instantly kills the bird. It will take about a minute for it to bleed out, and a minute more before it stops moving, so it is important not to let go yet. Bleeding the bird out yields a nice white meat later on.

 The dead birds are laid aside on their backs. If the feet decide to start running again it will not go anywhere. When the desired amount of birds has been killed (In our case three) it is time to pluck them. First we took the wings off by severing them at the joint.
 And then the (tedious) task of plucking began. In some places it was difficult to get the feathers off without breaking the skin, but eventually we had three plucked pearl hens. We could have also skinned the birds, saving us a lot of work, but keeping the skin on apparently keeps the meat softer when cooked.

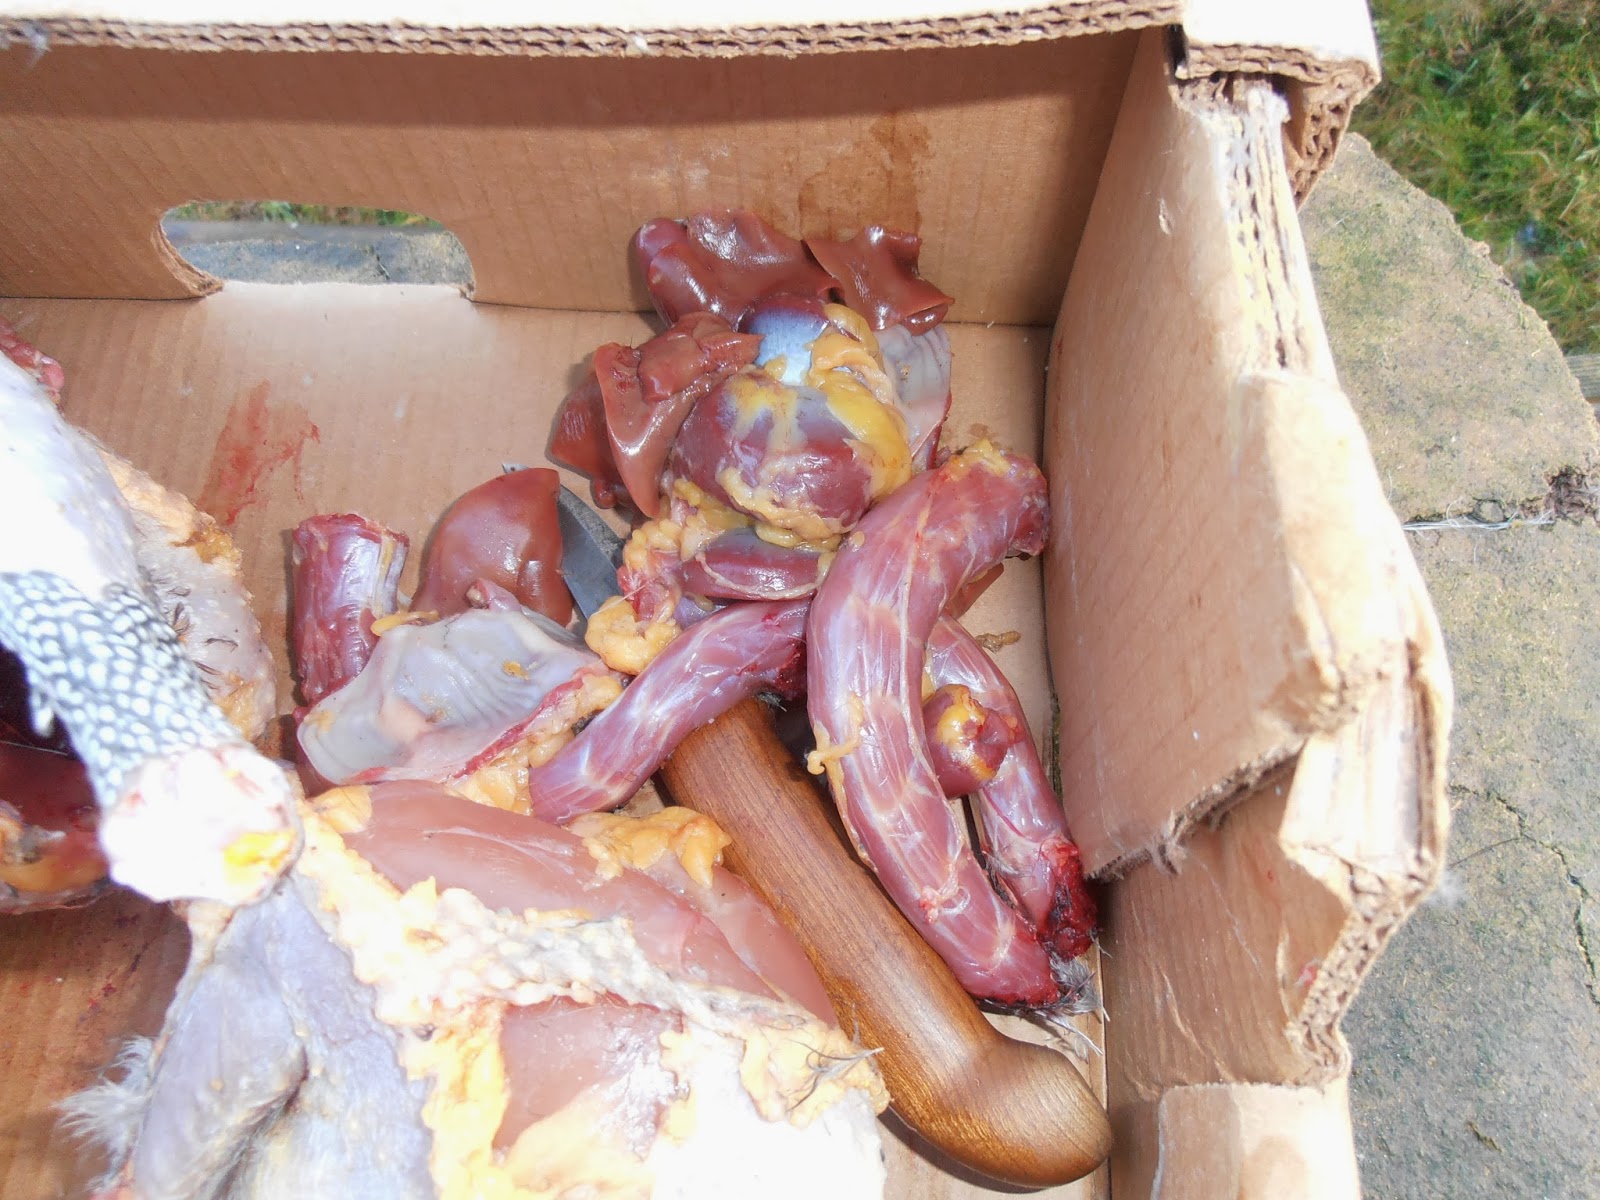
Then time came to take out the bits that are not for eating and separate them from the bits that are for eating. I planned to photodocument this, but my hands were not clean enough for the camera so words will have to suffice. First the feet were cut off. Secondly, there is a sort of bag at the neck of the bird where food passes through. I think this is called the crop. This can be removed with your hands by working it and pulling it, being careful to keep the contents contained. When it is loose you can rip this off the neck together with most that is attached. This leaves the neck clean. Next it is a matter of opening the bird at the back, and using you hand to dig out the intestines and the surprisingly muscular stomach. The stomach is made up of a bag sandwiched by muscles. Carefully cutting between the muscles revealt the bag with the stomach contents. This bag can carefully be removed and the muscles can be saved together with the neck and other edible intenstines. Lastly dig out the heart, liver and kidneys. We left the lungs in.

Here are all the parts that we saved: The necks, livers, stomachs and hearts. These will not be eaten as such but most like used for stocks and/or sauces.

and here are the bits we won`t use: intestines, stomach-contents etc.

I think it is a very nice thing to prepare your own meat in this way. Too many people are not conciously aware of where meat comes from, and what it involves to produce meat. Producing your own like my father in law does is a way of eating meat that feels very honest and fair. A lot fairer than meat produced in the bioindustry. And it is of a really good quality too! Here are the birds all cooked and ready to be eaten, together with a duck the attentive reader may have already spotted in the background of earlier pictures.

Now all that rests me is to wish all that read this a happy new year! The first day of the year has been a fine one for me. I mainly spent it carving and reading by the fire, and now by writing this blog post. I`m looking forward to a year full of carving and other craft projects. I have a list of things I want to do in my head and I wonder if I can achieve some of them. On the list are among other things learning basketry, and brewing beer. For the basketry the main problem is getting my hands on the willow shoots I need. For the beer brewing the main problems is my girlfriend assuring me the smell will be too strong to have it in the house... We`ll see which of these problems will prove easier to overcome!

Friday, 27 December 2013

Christmas break

At the moment I am enjoying a very welcome christmas break. And even though christmas always comes with a busier schedule than anticipated, I still got some hobby-projects done. The whole plum-project is now finished and in bottles, for instance. The two varieties of liquor/schnapps turned out to be very pleasant drinks. We made a sweeter variant where we boiled the fruit and added a bit more sugar, and that is a nice drink to sip from. The unboiled and less sweet variant turned out to be great for a shot after christmas dinner as a digestive.
The strong stuff. Left the less sweet variant, and on the right the sweeter one. Boiling the fruit resulted in a very different colour.

The plum wine project is now also finished. It was my first brewing project and it was a lot of fun. I learned a lot of new things by trying this out and I will certainly keep on brewing. The wine turned out to be rich in plum taste, and on the sweet side. I have not measured the alcohol concentration in any of my brews this time, but it tastes quite strong. Certainly over 10 percent, and maybe over 12. Now I have six bottles of plum wine and six bottles of elderberry port aging in a cool dark spot. I will age them for a couple of months and pop open a bottle of each in may.

The plum wine. It has a very nice light orange colour, and it is clearer than this picture makes one think. 
I also found a few hours to sit down with a knife and some bits of wood, and whittled away at some butter spreaders that came is very handy during our christmas brunch. It is nice to see others use and appreciate your own work. Wooden spoons are not really used in the family, so finding the spreaders well recieved was nice for me.
Some spreaders. Fun to carve, and very useful. I will be making more and play around with the curves a bit. 

For good measure I`ll include a picture of the brunch-table that was a joint effort of the whole family where everyone made very nice things in abundance.

One of my guilty pleasures in this time of year is to have breakfast with the left overs of the brunch the day after. Gingerbread men, cake, a cinnamon roll and coffee from a sycamore kuksa? A proper start of any day I imagine.

Tuesday, 17 December 2013

The Second International Secret Spoon Swap!

It has happened! The initiative that was started on the Spooncarving Facebook Group where people from all over the world send spoons to each other happened for the second time, and this time I was a part of it. It is a very fun and exciting experience to send a spoon to a carver somewhere else in the world, and it is also very nice to receive a spoon that someone else has made. I have sent my spoon out to Ben who lives in the USA, and he received it today. Here is a picture that he took of it:

I myself received a very nice spoon and spreader from Don Nalezyty. It is very delicate and also very different from how I used to think about eating spoons. I will try to copy this spoon to gain  carving skill and insight in form and function. He also included a very nice spreader as an extra gift. Both utensils are carved from cherry, and the tooled finish on them is very good. Smooth and shiney. Needless to say I am very happy with them.


Saturday, 7 December 2013

Kuksas

Last week I finished another wooden cup. The design might classify as a noggin more than a kuksa. My largest one yet. It is carved from sycamore and left at a tooled finish. Here are some pictures of the thing:
In progress. Up to this point most was done with the hatchet and the spoon knife.

Nearly done. In the picture are all the tools I used in the making. 

Done!

Swiss army knife for scale.


Hollowing this one out was a pain with just a spoon knife. It cost my a lot of time and both of my hands, but the result pleases me. I haven`t applied any finish to it just yet, but I think I know what I`ll do to seal it. I have experimented with using milk to seal a kuksa. I had a kuksa from hawthorn, but since it is a ring-porous wood the coffee seeped out through the grain. It seemed that all the walnut oil in the world could not seal the grain. I was adviced a myriad of solutions on the spooncarving facebook group where there are many experienced wise and friendly folk gathered. One of the solutions was sealing with boiling milk. The casein in the milk will seal the grain. I don't know exactly how it works but i do have a theory. Casein is a largely hydrophobic protein that is rich in proline-residues. When milk is boiled these proteins denature and can form aggregates that serve as a barrier between the wood and the outside world. I think that some proteins of the casein family can even form micels. This property could allow the formation of bilayer barriers that are rather stable. It does not really matter exactly what happens though. Bottom line is that the casein in the milk seals the grain from the outside world. The excess milk is poured away and wiped off thoroughly, removing the milk as a substrate for bacteria and preventing the kuksa to become bacteria-infested. So I went ahead and boiled said kuksa in milk:


It is important to not immediatly wash the kuksa when it is out of the milk. Wipe it down and rub it with a cloth instead. This leaves a lovey shiney finish and the cup is sealed. I have heard that this finish withstands washing in soapy water once it has had time to set. I gave it a few hours and then tested the cup with hot coffee. I`m happy to report it worked a charm. Next time I`ll finish a cup this way I`ll do it differently though. Then I`ll just pour boiling milk in the cup to the rim and leave that for a few hours. That is an easier approach that must work just as well if not better.

For the rest I am very happy that my copy of the book "Swedish Carving Techniques" arrived last week. It is indeed a wonderful book and I understand what all the fuss is about. A lot of knowledge and inspiration is gathered in these pages.

Sunday, 1 December 2013

Bottling of the Elderberry port

The elderberry port is finally in bottles. The fermentation stopped a few weeks ago, and this weekend it was time to get it into bottles. I had the help of my brother, which was really nice. There are just many things to hold and and extra pair of hands is really convenient. Here are the pictures of what we did. Started by placing the demijohn on the countertop, taking care to not disturb the sediment.
 Meanwhile we boiled some corks to get them into the bottles, and cleaned out six bottles. I have tried to gather old used bottles, but couldn`t gather a sufficient amount of bottles with the right opening and size, so eventually I gave in and ordered twelve appropriate bottles for €0.80 a piece. Along with that I ordered a simple bottling-device. I had planned on using a mallet, but figured that I could just as well invest the €5,- in this device I`ll be using more often in the future.


 Above you see the bottling device that compresses a cork untill it fits the bottleneck and shoves it in. It makes life a whole lot easier. When the bottles were clean and the corks ready, we started racking the port into the bottles. In hindsight I think racking the port into another container before putting it in bottles would have reduced the sediment in the last bottle we filled, so that is something to remember for the next time we do this. The next picture is a bit messy, but getting this process on is tricky enough while holding tubes and making sure the bottle doesn`t overflow.

 For the last bit of port in the demijohn you have to tilt to get it out without sediment. When all six bottles were full we pushed in the corks. This is a matter of placing the corks into the device, placing the device on the bottle, and pushing in the plunger. Here is a shot of my brother pushing one in.
 While we were at it, we racked off the plum wine into the now available (and cleaned) demijohn. This is to clear it further. The result of the evenings work are six bottles of port, an a racked gallon of plum wine of which we got to have a little taste.

 Since we didn`t degas the port, and want to know if there is risks of the corks coming out, I sealed the corks with wax. When the wax breaches we know the cork moves, and then we have to take action.


Six bottles of port. I like the colour. I didn`t really get to taste it yet though. The small sip I got was promising, but I couldn`t really taste all that was going on. In a couple of months we can open a bottle and see what we think of it. If people like it I want to scale up and make 12 bottles next year. Then there is some to give away as well.